
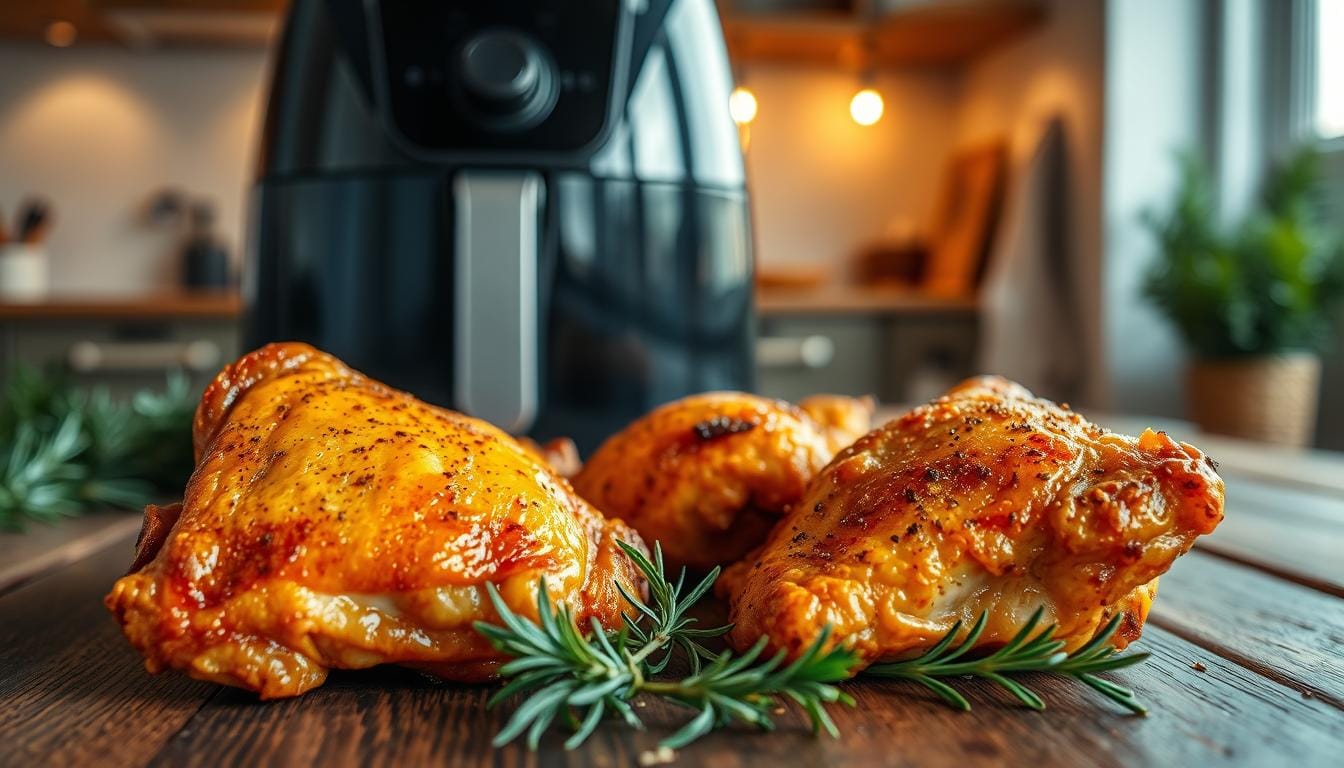
Have you ever wondered how to achieve that perfect balance of juicy tenderness and crispy skin in your favorite poultry dish? The secret lies in mastering the right techniques and tools. This guide will take you through the essential steps to create delicious meals that will have your family asking for more.
In less than 30 minutes, you can prepare flavorful, crispy poultry that is both satisfying and easy to make. With a blend of spices like smoked paprika and garlic powder, your dish will burst with flavor without overwhelming the natural taste of the meat. Understanding the differences between bone-in and boneless cuts will also help you tailor your cooking time for optimal results.
Get ready to explore the world of crispy textures and rich flavors, ensuring your next dinner is a hit. Whether you’re a novice or an experienced cook, these tips will elevate your culinary skills and impress your loved ones.
Table of Contents
Understanding the Benefits of Air Frying Chicken Thighs
Explore the techniques that transform ordinary poultry into a succulent and crispy delight. When it comes to air frying, chicken thighs stand out as a fantastic choice. Their higher fat content ensures that they remain juicy, even when cooked to higher temperatures. This makes them perfect for achieving that crispy skin you crave.
Unlike other cuts, chicken thighs retain their tenderness and flavor, even when cooked beyond the standard safe temperature of 165°F. This forgiving nature makes them ideal for the air fryer. The appliance circulates hot air rapidly, creating a crispy exterior while locking in moisture.
Why Choose Chicken Thighs for Air Frying?
- Chicken thighs are rich in fat, keeping the meat juicy and flavorful.
- They remain tender even when cooked above 165°F, making them versatile for various recipes.
- The air fryer mimics convection cooking, ensuring even heat distribution.
Advantages of Using the Air Fryer for Juicy, Crispy Results
- Significantly faster than conventional ovens, with most recipes ready in under 30 minutes.
- Eliminates the need for deep frying, reducing oil usage while maintaining crunch.
- Prevents stovetop splatter, keeping your kitchen cleaner during cooking.
- Consistent results due to controlled temperature and airflow.
- Compact size allows for quick preheating and less energy consumption.
Your family will love the delightful combination of juicy meat and crispy skin that the air fryer delivers. This method works beautifully with both bone-in, skin-on thighs and boneless varieties, providing flexibility in your cooking choices.
| Cooking Method | Cooking Time | Recommended Temperature |
|---|---|---|
| Air Fryer | 15-20 minutes | 375°F |
| Conventional Oven | 30-40 minutes | 400°F |
| Grilling | 20-25 minutes | Medium heat |
Essential Preparation Steps for Perfect Air Fryer Chicken Thighs
The secret to deliciously crispy poultry lies in the preparation steps you take. Properly prepping your chicken thighs is essential for achieving that mouthwatering crunch and juicy interior. Here are the key steps to ensure your dish turns out perfectly every time.
Trimming Excess Fat and Skin for Optimal Crispiness
Before you begin cooking, it’s important to trim excess fat and skin from your chicken thighs. This is crucial because too much skin around the edges can prevent proper crisping. When trimming, leave just enough skin to cover the top flesh of each thigh. This balance is vital for achieving that perfect crispy texture while keeping the meat juicy.
Inspect each thigh carefully, as some packages may contain pieces that require more trimming than others. Taking the time to do this will enhance the overall cooking experience.
Patting Dry: The Key to Crispy Skin
Another critical preparation step is to pat your chicken thighs completely dry with paper towels. This is the single most important action for achieving crispy skin in the air fryer. Removing all surface moisture is essential because any remaining water will steam the thighs instead of allowing the skin to crisp up properly.
This drying step not only ensures that your seasoning adheres evenly but also allows the oil you apply to create a proper searing effect. You will notice a significant difference in the final texture when you thoroughly pat dry each piece before seasoning.
The combination of proper trimming and thorough drying sets the foundation for the crispy, golden-brown skin you desire from your air fryer recipe. These preparation steps take only a few extra minutes but can make the difference between mediocre and exceptional results.
Complete both trimming and drying before moving on to the seasoning step for the most efficient prep workflow.
| Preparation Step | Importance |
|---|---|
| Trimming Excess Fat | Prevents soggy skin and enhances crispiness. |
| Patting Dry | Removes moisture to ensure proper crisping. |
Choosing the Right Chicken: Bone-In vs. Boneless Skinless Thighs
Your choice of chicken can determine the success of your meal, especially when air frying. Understanding the differences between bone-in and boneless skinless cuts is essential for achieving juicy and crispy results. Each type has its unique characteristics that can affect cooking time and texture.
Differences in Cooking Time and Texture
Bone-in, skin-on pieces require a longer cooking time than their boneless skinless counterparts. The bone conducts heat differently, which means these cuts need about 25 minutes at 380°F. Start by placing them skin-side down for the first 12 minutes. After that, flip them for an additional 10-15 minutes to achieve the desired crispiness.
On the other hand, boneless skinless chicken cooks much faster. These pieces typically need only 11 to 13 minutes at 375°F, without the need for flipping. This makes them ideal for quick weeknight dinners when you want a satisfying meal on the table in no time.
Tips for Handling Each Type in the Air Fryer
When preparing bone-in chicken, start skin-side down to render the fat effectively. This method enhances the overall flavor and texture. Remember, bone-in pieces tend to deliver a richer flavor and juicier texture due to the bone retaining moisture during cooking.
For boneless skinless chicken, select pieces that are similar in size. This ensures they cook evenly and finish at the same time. Handle them gently when seasoning to ensure the spice mixture coats every fold of the meat evenly. You can achieve a crispy exterior by using a dry rub that caramelizes beautifully against the meat.
Both types of chicken work wonderfully in the air fryer, so your choice depends on your available time and texture preference. With the right preparation and attention to detail, you can create delicious meals that will impress everyone at your table.
Seasoning Your Air Fryer Chicken Thighs for Maximum Flavor
Unlock the secrets to flavorful poultry with the right seasoning techniques. The right blend of spices can elevate your dish, making it not only delicious but also memorable. For optimal flavor, consider using a simple dry rub that incorporates key ingredients like smoked paprika and garlic powder.
Simple Dry Rub Ingredients
Creating a signature seasoning blend is easy. Here’s a basic recipe to get you started:
- 1 teaspoon smoked paprika
- 1 teaspoon garlic powder
- ½ teaspoon oregano
- ½ teaspoon onion powder
- ½ teaspoon kosher salt
This combination of spices delivers a savory, slightly smoky flavor that complements the natural richness of poultry without overpowering it. For a twist, you can enhance the blend with brown sugar for a beautiful mahogany crust.
How to Coat Your Poultry Evenly
To ensure even seasoning, toss your poultry in a large zip-top bag or a bowl with a lid. Shake until every piece is fully covered. This method guarantees that the spices adhere well, enhancing the overall flavor.
Using Oil: Avocado Oil vs. Olive Oil
Applying a light coating of oil is crucial. It acts as a binding agent for the spices, promoting even browning and crisping. Both avocado oil and olive oil work well:
- Avocado oil: Has a high smoke point and a neutral flavor.
- Olive oil: Adds a subtle fruitiness that pairs nicely with garlic and paprika.
Don’t skip the oil step; it’s essential for achieving that crispy texture you desire. For the best flavor penetration, let your seasoned poultry rest in the refrigerator for 15 minutes to a few hours before cooking.
This simple seasoning approach consistently produces juicy, flavorful results that your whole family will enjoy. Now that you know how to season effectively, you can explore more dinner recipes to try with your perfectly seasoned poultry.
| Seasoning Ingredient | Amount |
|---|---|
| Smoked Paprika | 1 teaspoon |
| Garlic Powder | 1 teaspoon |
| Oregano | ½ teaspoon |
| Onion Powder | ½ teaspoon |
| Kosher Salt | ½ teaspoon |
Preheating the Air Fryer: Is It Necessary?
Is preheating your cooking appliance a step worth taking for achieving that ideal crispiness? Understanding the role of preheating can greatly impact the outcome of your meal. It’s a simple step that can elevate your dish from good to great.
When you preheat your air fryer to 380°F for about five minutes, you set the stage for success. This immediate heat jumpstarts the cooking process, allowing the skin to crisp up right away. As the fat begins to render, you achieve that coveted golden exterior.
Benefits of Preheating for Crispy Skin
- You should preheat your air fryer when you want the crispiest possible skin on your poultry, as the immediate high heat jumpstarts the rendering process.
- Preheating ensures that the skin begins to crisp the moment it hits the hot basket.
- It produces more consistent cooking times and even browning across all your pieces.
- The fat beneath the skin starts rendering immediately, which is essential for achieving that crackling exterior.
When You Can Skip Preheating and Still Get Great Results
Sometimes, you may be short on time or prefer a slightly less crispy texture. In these cases, you can skip preheating altogether. Simply place the seasoned pieces in the basket, set the temperature, and start cooking.
However, if you choose this method, be sure to use an instant-read meat thermometer to check for doneness. Cooking times may vary slightly without preheating. Many home cooks report excellent results without this step, especially with boneless skinless options.
Ultimately, your choice should reflect your personal texture preference. If you love crispy skin, always preheat for the best outcome. This small step only adds a few minutes to your total cooking time but can significantly enhance the quality of your finished dish.
| Preheating Step | Recommended Temperature | Time |
|---|---|---|
| Preheat | 380°F | 5 minutes |
| Skip Preheating | 375°F | Cooking time varies |
Air Fryer Settings and Cooking Time for Juicy Crispy Chicken Thighs
Understanding the optimal cooking settings is key to creating mouthwatering, crispy poultry every time. The right temperature and cooking time can significantly impact the texture and flavor of your dish. Below, you’ll find essential guidelines to help you achieve perfect results.
Recommended Temperature and Duration
For bone-in, skin-on pieces, set your air fryer to 380°F. Start cooking skin-side down for the first 12 minutes. This allows the fat to render without over-browning the skin. After this initial phase, flip the thighs and continue cooking for an additional 10 to 15 minutes until the skin is crispy.
For boneless skinless thighs, the recommended temperature is 375°F. Cook these pieces for just 11 to 13 minutes without flipping. This method ensures they remain juicy while achieving a delightful texture.
Cooking in a Single Layer for Even Crispiness
To ensure even cooking, always arrange your poultry in a single layer in the air fryer basket. This allows for proper air circulation, which is crucial for achieving that coveted crispiness. A standard 6-quart air fryer can fit four bone-in thighs comfortably in a single layer. If your fryer is smaller, be prepared to cook in batches.
Flipping Chicken Thighs: When and Why
Flipping your chicken thighs during cooking is important for even browning and texture. While some cooks prefer to let one side develop a crispy top, flipping ensures both sides are evenly cooked. This technique enhances the overall flavor and texture of your dish.
By following these temperature and timing guidelines, you can consistently achieve juicy, crispy results. Remember to monitor your specific air fryer’s performance, as cooking times may vary slightly based on the size of your poultry and the wattage of your model.
| Type of Chicken | Temperature | Cooking Time |
|---|---|---|
| Bone-in, Skin-on | 380°F | 22-27 minutes (12 min skin-side down, then flip) |
| Boneless Skinless | 375°F | 11-13 minutes |
Checking for Doneness: Using an Instant-Read Thermometer Properly
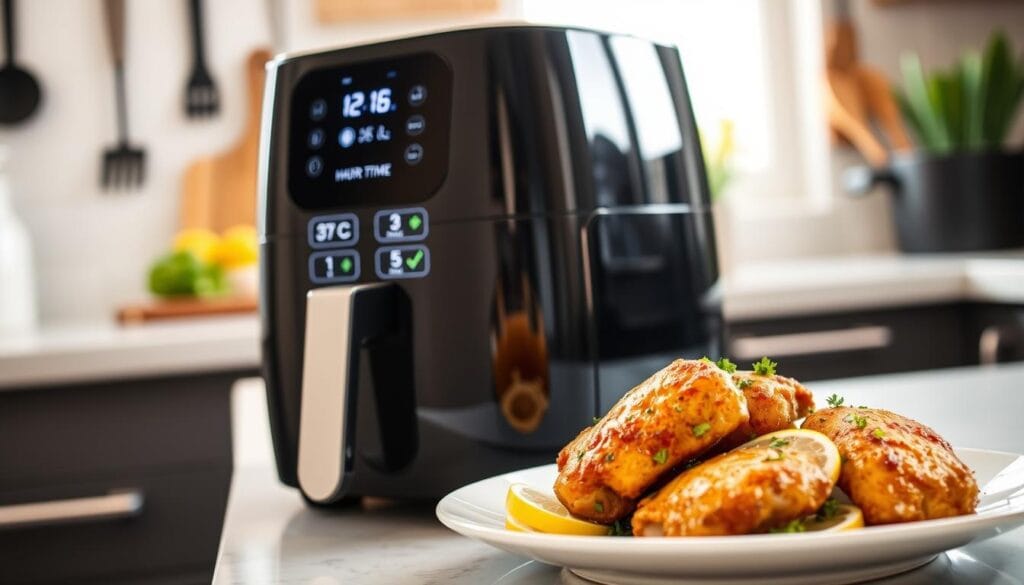
Mastering the art of checking for doneness will elevate your cooking game and guarantee delicious results. An instant-read thermometer is an essential tool for ensuring your poultry is cooked to perfection. Visual cues alone can be misleading, making it crucial to rely on precise measurements.
To accurately check the internal temperature, insert the thermometer probe into the thickest part of the meat. Be sure to avoid the bone if you’re using bone-in pieces. This technique will provide you with the most accurate reading.
Target Internal Temperatures for Safe and Tender Meat
The USDA recommends a safe minimum internal temperature of 165°F for poultry. However, for optimal tenderness, chicken thighs should be cooked to a higher temperature. When they reach between 185°F and 195°F, the connective tissue breaks down, resulting in a more succulent texture.
Understanding the Ideal Temperature Range for Juiciness and Crispiness
Cooking your poultry beyond 165°F does not lead to dryness. Dark meat, such as thighs, contains more fat and connective tissue, making it forgiving during cooking. When you aim for that higher temperature range, you allow more time for the skin to render and crisp up without sacrificing juiciness.
- Always use an instant-read thermometer to check the internal temperature of your meat.
- Insert the probe into the thickest part of the thigh, avoiding the bone for accuracy.
- The USDA safe minimum internal temperature for poultry is 165°F.
- Cooking thighs beyond 165°F is safe due to their higher fat content.
- For peak tenderness, aim for an internal temperature between 185°F and 195°F.
- Thighs cooked to this range will have a fall-apart texture that many enjoy.
- Higher temperatures also allow for maximum crispiness of the skin.
- Invest in a quality instant-read thermometer for consistent results.
- Check the temperature of each piece individually to ensure proper cooking.
- Confidently cook your thighs to the 185°F-195°F range for juicy meat and crispy skin.
| Temperature | Result |
|---|---|
| 165°F | Safe to eat |
| 185°F – 195°F | Peak tenderness and juiciness |
Tips for Achieving Extra Crispy Skin Without Drying the Meat
Achieving that coveted crispy skin on your poultry is easier than you might think. With the right techniques, you can elevate your cooking game and impress your family. Here are some effective tips to ensure your poultry turns out crispy and juicy.
Light Oil Sprays and Towel Dry Techniques
To get that delightful crunch, start by thoroughly patting your poultry dry with paper towels. This step is crucial as it removes excess moisture, allowing the skin to crisp up nicely. After drying, apply a light spray of avocado oil to the skin side of your poultry. This helps the seasoning stick and promotes browning.
After flipping your poultry halfway through cooking, give it another light spray of oil. This extra touch will help achieve an even crispier, golden-brown exterior. Remember, less is more when it comes to oil; a light coat is all you need.
Cooking Beyond 165°F Safely for Better Texture
Don’t be afraid to cook your poultry beyond the standard 165°F. Dark meat remains juicy at higher internal temperatures. Aim for a range between 185°F and 195°F for peak tenderness. This allows the skin extra time to render and crisp while keeping the meat moist.
As the fat beneath the skin renders more completely at these higher temperatures, you’ll find that the skin becomes thinner and crispier. The hot air circulating in the fryer works with the rendered fat to create that perfect crispy crust you desire.
Here’s a quick summary of the essential tips:
- Apply a light spray of avocado oil after flipping your poultry during the cooking process.
- Pat your poultry completely dry with paper towels before seasoning.
- Trim away excess skin hanging off the edges, leaving just enough to cover the meat.
- A final light spray of oil on the skin side after flipping helps create a crispier exterior.
- Cooking beyond 165°F is safe, as dark meat stays juicy at higher temperatures.
- Aim for 185°F to 195°F for extra tenderness and crispiness.
- The rendered fat beneath the skin helps achieve a thinner, crispier texture.
- Don’t worry about drying out the meat; the natural fat keeps it moist.
- These techniques will give you poultry with shatteringly crispy skin and juicy meat every time.
| Technique | Description |
|---|---|
| Oil Spray | Lightly spray oil before and after flipping for crispiness. |
| Towel Dry | Pat dry to remove moisture before seasoning. |
| Trimming | Trim excess skin to enhance crispiness. |
| Temperature | Cook to 185°F-195°F for best texture. |
Serving Suggestions: What to Pair with Your Air Fryer Chicken Thighs
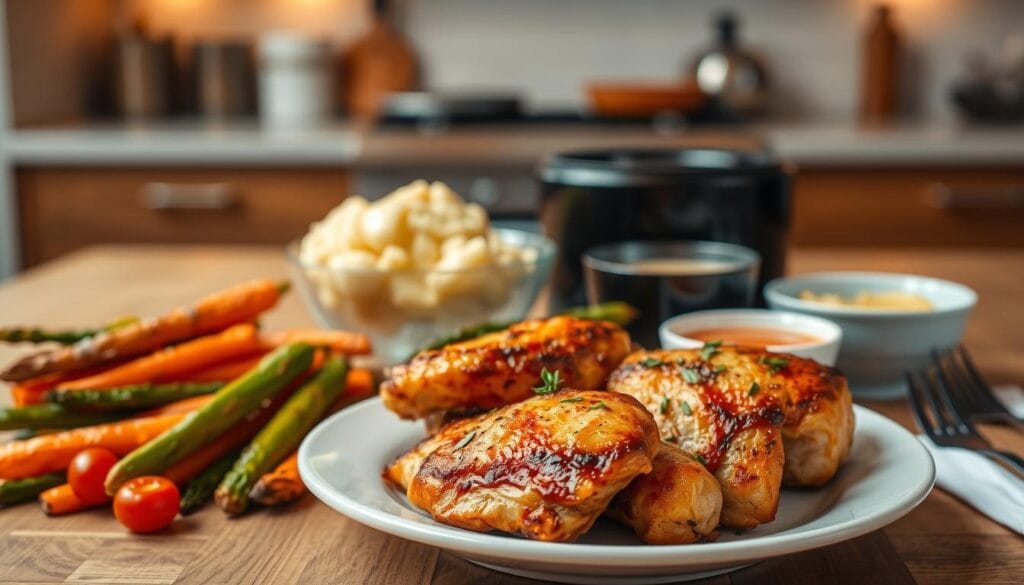
Crafting the perfect meal involves more than just cooking poultry; it’s about the delightful sides that accompany it. Pairing your dish with the right sides can enhance flavor and create a balanced meal that your family will love.
Side Dishes That Complement Flavor and Texture
Here are some excellent options to consider:
- You can serve your poultry alongside cauliflower mac and cheese for a comforting, low-carb dinner that the whole family will enjoy.
- A crisp broccoli salad provides a refreshing contrast to the rich, crispy poultry and adds color and nutrition to your plate.
- Consider pairing your dish with roasted vegetables like Brussels sprouts, carrots, or green beans for a complete and balanced meal.
- A simple Caesar salad makes an excellent side dish, and you can even slice leftover poultry over the top for a hearty lunch.
- Create a delicious rice bowl by serving sliced poultry over steamed rice with fresh vegetables and a drizzle of sauce.
Simple Salad or Vegetable Options for a Balanced Meal
For added flavor, try these suggestions:
- A smoky paprika aioli made with mayonnaise, yogurt, fresh garlic, and smoked paprika is the perfect dipping sauce for your crispy poultry.
- Squeeze fresh lemon juice over the sliced poultry just before serving to brighten the flavors and cut through the richness.
- Baked potatoes or sweet potatoes make a satisfying, family-friendly side dish that complements the savory seasoning on the poultry.
- Keep the meal quick and easy by serving your poultry with a simple green salad dressed with olive oil and lemon.
These serving suggestions turn your poultry into a versatile dinner centerpiece that works for both casual weeknights and special occasions.
Meal Prep Ideas Using Leftover Air Fryer Chicken Thighs
Leftover poultry can be a culinary goldmine when it comes to meal prep. You can easily transform these cooked pieces into delightful dishes that save you time and reduce waste. Here are some creative ideas to make the most of your leftovers.
Salads, Bowls, and Quick Dinners
Leftover cooked meat is perfect for quick and satisfying meals. You can slice cold meat and arrange it over fresh greens for a delicious salad. Toss in your favorite dressing to elevate the flavors.
Another great option is to create grain bowls. Combine leftover poultry with quinoa or rice, add roasted vegetables, and drizzle with a flavorful sauce. These bowls make excellent meal prep lunches for the week.
When you’re in a hurry, quick dinners come together in minutes. Simply slice your pre-cooked poultry and toss it into stir-fries or wraps. You can also chop the meat and mix it with pasta and vegetables for a fast, satisfying meal.
Best Practices for Refrigerating and Freezing Leftovers
To keep your leftover poultry fresh, store it in an airtight container in the refrigerator. It will stay good for three to four days. For longer storage, wrap each piece individually in plastic wrap and place them in a freezer bag. This way, they can be frozen for up to two months.
When you’re ready to use frozen leftovers, remember to thaw them in the refrigerator overnight. This ensures even warming and maintains food safety.
The versatility of leftover cooked poultry means you can prepare multiple meals from one batch. You will appreciate having seasoned, cooked pieces ready to add protein to salads, bowls, and quick dinners on demand. These meal prep strategies help you maximize the value of your air fryer chicken thigh recipe while minimizing food waste.
Reheating Tips to Maintain Juicy, Crispy Texture
Knowing how to properly reheat your poultry can make all the difference in keeping it juicy and crispy. When you have leftover pieces, the right reheating method ensures that you enjoy the same delicious flavor and texture as when they were freshly cooked.
Using the Air Fryer’s Reheat Function
To restore the crispy texture of your leftover poultry, use your air fryer’s reheat function. Set it to 380°F for two to three minutes. This quick reheating time is perfect for fast lunches or quick easy dinners.
Before placing the poultry in the fryer, sprinkle a few drops of water over the pieces. This simple step helps keep the meat juicy during reheating. The air fryer is superior for this task because it circulates hot air around the poultry, reviving the crispy exterior without drying it out.
Alternative Reheating Methods
If you don’t have an air fryer, you can use a conventional oven. However, keep in mind that the results may not be as crispy. When reheating in the oven, preheat it to 375°F and place the poultry on a baking sheet. Reheat for about 10-15 minutes, or until heated through.
It’s important to avoid using a microwave for reheating poultry. Microwaves tend to make the skin rubbery and can heat the meat unevenly, leading to a less satisfying meal.
- You should use your air fryer’s reheat function set to 380°F for two to three minutes to restore the crispy texture of leftover chicken thighs.
- The air fryer is the best tool for reheating because it recirculates hot air around the chicken thighs, reviving the crispy exterior without drying out the meat.
- You can sprinkle a few drops of water over your leftover chicken thighs before placing them in the air fryer to help keep the meat juicy during reheating.
- The microwave is not recommended for reheating air fryer chicken thighs because it tends to make the skin rubbery and the meat unevenly heated.
- You can use a conventional oven to reheat your chicken thighs if an air fryer is not available, though the results may not be as crispy.
- When reheating in the air fryer, you should arrange the chicken thighs in a single layer to ensure even warming and crisping.
- The quick reheating time of just two to three minutes makes the air fryer method perfect for fast lunches and quick easy dinners.
- You will find that properly reheated chicken thighs taste almost as good as freshly cooked ones when you use the air fryer method.
- Avoid overheating your leftover chicken thighs during reheating, as this can dry out the meat even with the air fryer’s efficient heating.
- These reheating techniques ensure that your meal prep efforts pay off with delicious, crispy chicken thighs every time you reheat them.
| Reheating Method | Temperature | Time |
|---|---|---|
| Air Fryer | 380°F | 2-3 minutes |
| Conventional Oven | 375°F | 10-15 minutes |
| Microwave | N/A | Not recommended |
Common Challenges and How to Avoid Them
Cooking poultry can sometimes lead to unexpected challenges. If you find that your poultry isn’t achieving that crispy skin you desire, you’re not alone. Many home cooks encounter similar issues. Fortunately, understanding the common pitfalls can help you avoid them and enjoy perfectly cooked poultry every time.
Why Aren’t Your Chicken Thighs Getting Crispy?
The most frequent reason for soggy skin is simply not cooking the poultry long enough. If you notice your poultry isn’t crisping up, try extending the cooking time in four-minute increments. This allows the skin to render properly and achieve that delightful crunch.
Another common issue is excess skin around the edges. This can trap moisture and prevent proper crisping. Be sure to trim away any excess skin before cooking. It’s a small step that can make a big difference in the final texture.
Proper arrangement in the fryer is also crucial. Ensure your poultry is in a single, even layer. Overcrowding can block air circulation, which is essential for achieving that coveted crispiness.
Managing Cooking Times for Different Air Fryer Sizes
Different sizes of cooking appliances can affect your results. For instance, a larger 7-quart basket can hold up to four pieces comfortably. Smaller models may require batch cooking to ensure everything cooks evenly.
Before seasoning, make sure to pat your poultry completely dry. Surface moisture creates steam, which works against crispy skin formation. Skipping the preheating step can also result in less crispy skin. Always preheat your appliance when aiming for maximum crispiness.
Cooking times may need adjustments based on your specific model. Wattage varies between brands, which can affect how quickly your food cooks. If your poultry is browning too quickly on the outside while remaining undercooked inside, lower the temperature slightly and extend the cooking time.
By addressing these common challenges, you can troubleshoot effectively. With proper preparation, adequate cooking time, and correct loading techniques, you’ll consistently produce perfectly crispy poultry.
- Extend cooking time in four-minute increments if your poultry isn’t crispy.
- Trim excess skin around the edges to prevent sogginess.
- Arrange poultry in a single layer to ensure proper air circulation.
- Consider your air fryer size; larger models hold more pieces than smaller ones.
- Pat poultry dry before seasoning to avoid steam and promote crispiness.
- Preheat your appliance for optimal results.
- Adjust cooking times based on your air fryer’s wattage.
- If browning too quickly, lower the temperature and extend cooking time.
- Use proper preparation and loading techniques for the best outcomes.
- Understanding these challenges helps ensure crispy, delicious results every time.
Air Fryer Chicken Thighs Recipe: Step-by-Step Cooking Instructions
Transforming your poultry into a delightful dish is simpler than you might think when you follow a clear recipe. This section will guide you through the essential steps for cooking juicy, crispy meat using your air fryer.
Prep and Seasoning
Begin the prep and seasoning step by trimming excess fat and skin from four bone-in, skin-on pieces. Pat them completely dry with paper towels to ensure crispiness.
Next, combine your seasoning blend in a small bowl. You will need:
- 1 teaspoon smoked paprika
- 1 teaspoon garlic powder
- ½ teaspoon oregano
- ½ teaspoon onion powder
- ½ teaspoon kosher salt
Toss the chicken with the seasoning mixture in a large zip-top bag or covered bowl. Shake until every piece is evenly coated on all sides.
Preheat your air fryer to 380°F for five minutes. Then, spray the basket lightly with avocado oil cooking spray for extra crispy results.
Cooking Process
For the cooking process, place your seasoned chicken in the preheated air fryer basket skin-side down in a single layer without overcrowding. Cook the chicken at 380°F for 12 minutes skin-side down to render the fat. Then, flip them skin-side up for an additional 10 to 15 minutes.
Check the internal temperature of your poultry using an instant-read thermometer. Aim for at least 165°F, though cooking to 185°F to 195°F yields peak tenderness. If you desire extra crispy skin, continue cooking in four-minute increments until your preferred level of crispiness is achieved.
Resting and Serving
After cooking, let your air fryer chicken thighs rest for two to three minutes before slicing. This resting period allows the juices to redistribute, ensuring that every bite is juicy and flavorful, with the crispy skin intact.
Finish the dish with a squeeze of fresh lemon juice and serve alongside your favorite sides for a complete, quick easy dinner. This step-by-step recipe delivers consistently delicious results with minimal effort and maximum flavor every time you cook.
| Ingredient | Amount |
|---|---|
| Bone-in skin-on chicken thighs | 4 pieces |
| Kosher salt | ½ teaspoon |
| Smoked paprika | 1 teaspoon |
| Garlic powder | 1 teaspoon |
| Oregano | ½ teaspoon |
| Onion powder | ½ teaspoon |
Conclusion
This straightforward recipe guarantees delicious results that will impress your family without the fuss. You now have all the knowledge and techniques needed to make perfectly juicy and crispy poultry every time you cook. The combination of proper preparation, the right seasoning blend, and precise settings ensures consistent, mouthwatering results.
With a high rating from numerous home cooks, you can confidently prepare this dish knowing it has been tested and loved. The versatility of this recipe means you can serve it with countless side dishes for a different dinner experience each time.
This quick easy recipe fits seamlessly into your busy schedule while delivering a meal that tastes like it took hours to prepare. With these techniques in your cooking repertoire, you can look forward to many delicious, stress-free dinners that your whole family will request again and again.
FAQ
How long should I cook my chicken thighs in the air fryer?
Do I need to preheat the air fryer before cooking?
What type of oil is best for air frying chicken thighs?
Can I use frozen chicken thighs in the air fryer?
How can I ensure my chicken thighs are crispy?
What are some good seasoning options for chicken thighs?
How do I store leftovers from my air fryer chicken thighs?
What should I do if my chicken thighs aren’t cooking evenly?
Can I reheat chicken thighs in the air fryer?
What are some side dishes that pair well with chicken thighs?
Before trying your next meal, explore more easy and delicious recipes on QuickEatsHub, where you’ll find a variety of family-friendly dishes, healthy meal ideas, and simple cooking inspiration. To ensure your meals are prepared safely, it’s also a good idea to review the latest food handling, cooking, and storage recommendations available from FoodSafety.gov. Combining great recipes with proper food safety practices helps create meals you can enjoy with confidence.